
With springtime finally here, we turn our attention to the vegetable garden. Getting your transplants up and growing will give you some delicious homegrown produce in the months to come.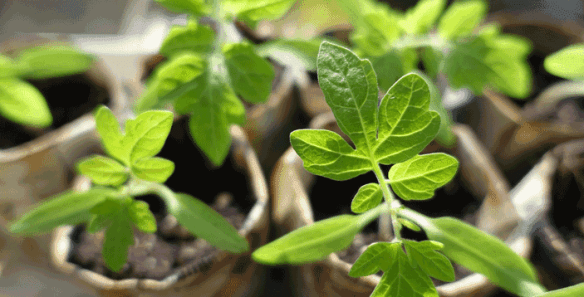
Transplanting gives a plant more space to develop, but it will temporarily stop growth, not stimulate it. Therefore, for successful transplanting, try to interrupt plant growth as little as possible.
Whether you grow your own transplants or purchase them, these eight steps can ensure successful transplanting into the garden.
1. Transplant on a shady day in late afternoon or in early evening to prevent wilting.
2. Ensure transplants are well watered and their roots are thoroughly damp an hour or two before setting them in the garden.
3. Handle the plants carefully. Avoid disturbing the roots. Try removing plants from their containers by knocking them out in an inverted position rather than tugging on the plants. Plants growing in peat pots may be planted with the pot intact.
4. Dig a hole large enough to hold the roots. Set the plants to the lowest leaf at recommended spacings. Press soil firmly around the roots.
5. Pour 1 cup of a solution of soluble plant food and water mixed according to the label’s directions.
6. Put more soil around each plant, but leave a slight depression for water to collect. Break off any exposed parts of peat pots so that they will not act as wicks and pull water out of the soil.
7. Shade the plants for a few days after transplanting on a very hot day by putting newspapers or cardboard on their south sides or cover them with a woven cotton fabric such as cheese cloth.
8. Water the plants every 2-3 days during the next week.For more gardening tips, visit the Garden, Lawns and Landscapes section at www.extension.org.
Submitted by Rick Durham, Horticulture Specialist, University of Kentucky

You must be logged in to post a comment.